
Pirates in Paradise 2008 - Key West, Fl
Extra Page: Second Battle
The second battle took place on Saturday. Once again, the British were
defending the fort and the pirates and the Schooner Wolf
were outside trying to take them. Of course the results were different
and the pirates managed it. There followed a divestiture of the Viceroy
by Iron Nigel and a raising of the pirate colors over Fort
Edward/Zachary Taylor.
 (Photo: Cheeky)
|
 (Photo: Nicole Andreyko, Callahan Digital Art)
|
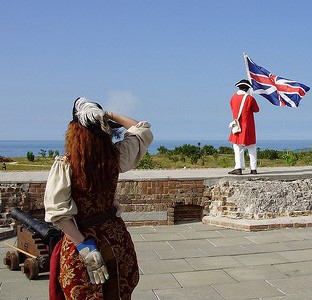
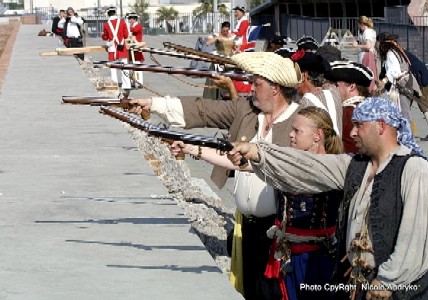
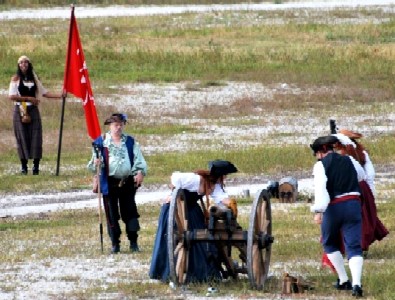
Above left: The British taunt the pirates from the fort wall while
Red Jessi looks on. Above right: the British infantry take aim over the
fort wall.
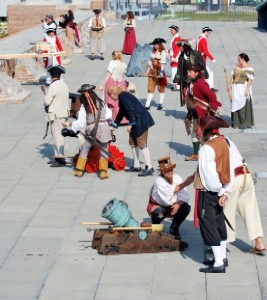
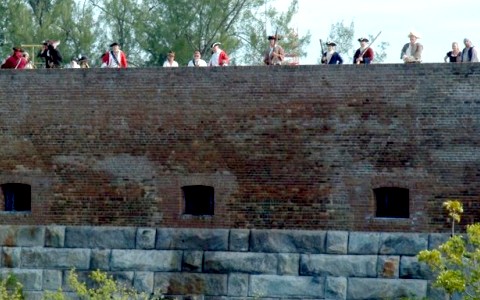
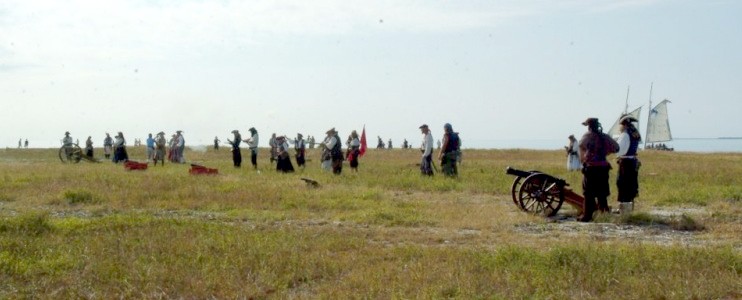
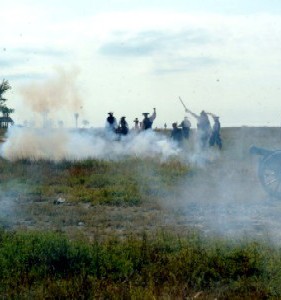
Below left, the cannon crews. In the foreground are the Bone Island
contingent, behind them is the M.A.
d'Dogge cannon crew, behind them is the all
girl's cannon crew and at the back are the British cannon crew. Below
right: the pirates' view of the British on the fort wall.
 (Photo: James Callahan)
|
 (Photo: "Poppa Ratsey" Callahan,Callahan Digital Art)
|
 (Photo: "Poppa Ratsey" Callahan,Callahan Digital Art)
|
 (Photo: "Poppa Ratsey" Callahan,Callahan Digital Art)
|
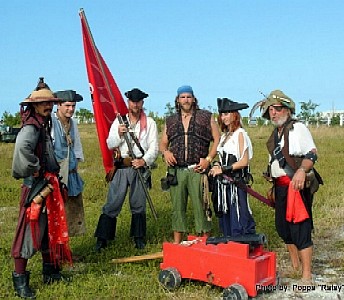
Above left: Some of the pirates gather around their cannon. Above
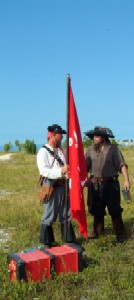
right: the pirates prepare to fire one of the cannon at the fort. Below: the Saga of the Bone Island Buccaneers Pirate Flag. Since I wasn't there
to be pressed into service on Saturday like I was in the First
Battle, flag holder consternation resulted. From left: Iron Nigel
takes the flag on the field, then he places it using an ammo box in a
repeat of the strategy that failed so miserably the previous day.
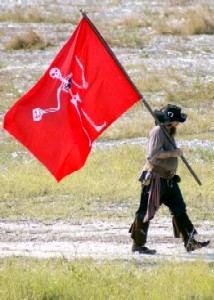
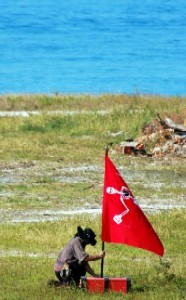
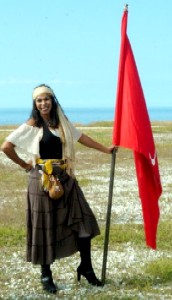
Discovering this wouldn't work any better on Saturday than it did on
Friday, he tried to get someone else to hold it. (Can't you
just hear it? "I'm not gonna hold it! You hold it!" "I'm
not gonna hold it! Let's get Mikey!") Fortunately, they found a much
better alternative - one I believe we'll all agree is a vast improvement
over anyone mentioned so far.
 (Photo: Callahan Digital Art)
|
 (Photo: Callahan Digital Art)
|
 (Photo: Callahan
|
 (Photo: Callahan Digital Art)
|
 (Photo: "Poppa Ratsey" Callahan,
Callahan Digital Art)
(Photo: "Poppa Ratsey" Callahan,
Callahan Digital Art)
|
Above: The pirate force backed by their ally the Schooner Wolf at the
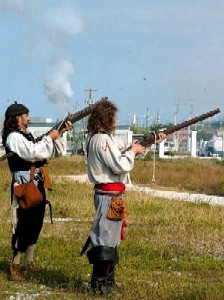
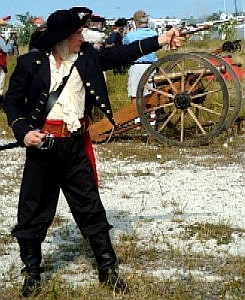
foot of the fort. Below center: a dapper looking pirate whose name I know not
saying his peace (or piece) and below right, the pirates triumphant. Below left: Doug and William fire their rifles at
the British.
 (Photo: Callahan Digital Art)
|
 (Photo: Callahan Digital Art)
|
 (Photo: Callahan Digital Art)
|
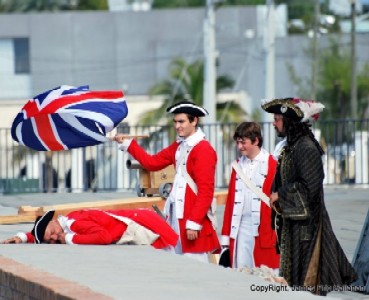
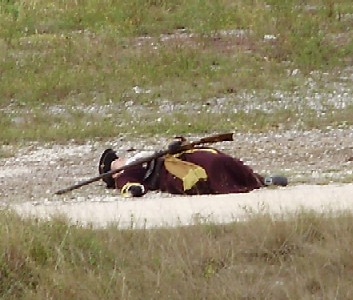
Of course, every battle has its wounded. (Except the first battle
when the surgeon actually had his instruments at the ready, that is.) Each side
lost one man (or woman). The British observe the temporary death of Mark
veddy properly with a waving of the flag while the pirates left Mary
Diamond to rot (with Michael Souris' rifle. Funny they would leave that
there.)
 (Photo: Callahan Digital Art)
|
 (Photo: Callahan Digital Art)
|
