

Chapter Selection Menu: 1 2 3 4 5 6 E Next>>
Santa Maria Pirate Weekend, September 2009 - Columbus, OH
 (Photo: Thatchers)
|
(Photo: Thatchers)
Chapter 3rd: Of the various battles that the surgeon witnessed.
Including a 2pm battle, featuring boarding pirates that were
scuttled, a 4pm battle, where boarding pirates succeed. Also looking into just how the surgeon, who should never be firing weapons, got black powder burns in his shirt.
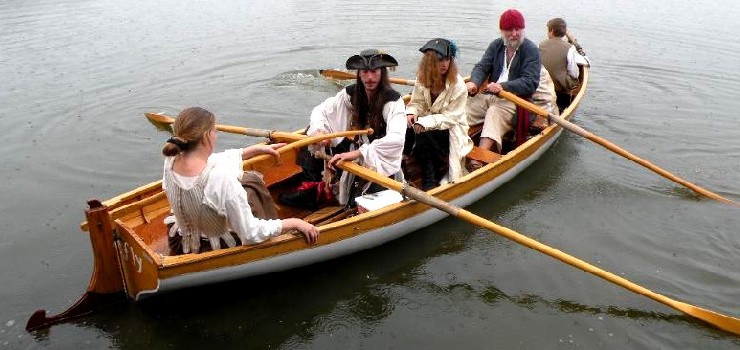
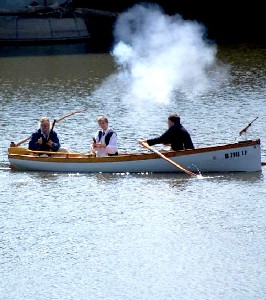
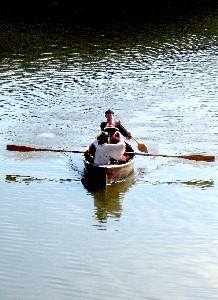
The two boats on the river were crucial to the battles. Outside of that, several people went out in them for fun on a three hour tour. They all sang "Show Me the Way to Go Home" loudly enough that we could hear them on the Santa Maria's deck.
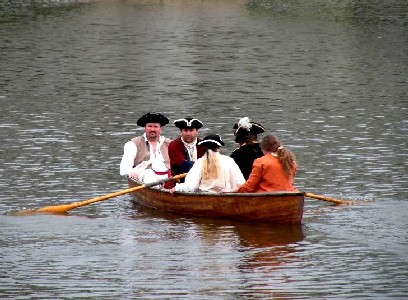
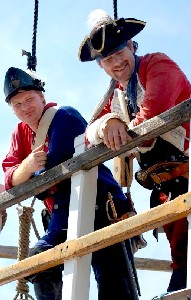
Above: Kate, Count DBooty, Rosabella, Mark Gist and Andrew. Right: Dan Needham, Michael, Red John, his wife Bloody Bess Flint and Salty.
(Mission)
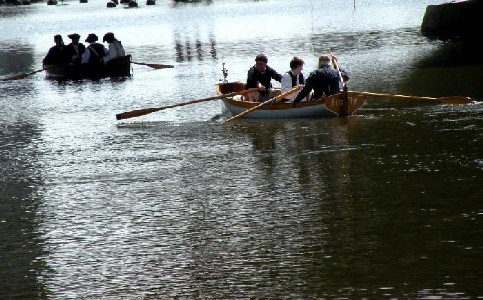
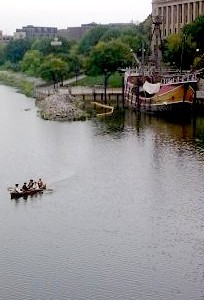
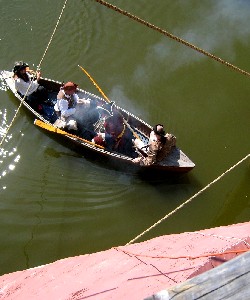
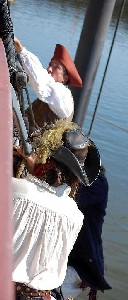
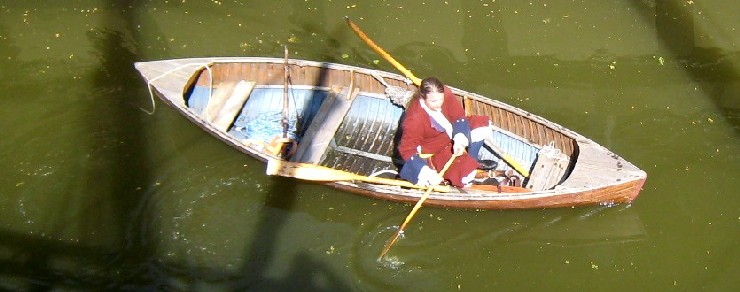
The battles each started with the pirates taking the two small boats out
and hiding under the bridge (left) until some mystical signal informed them that
it was time to come out and menace the Santa Maria. It was a
long journey from the bridge (below left), but they all made it. Mark
Gist's boat Firefly brought Alex Thatcher and Thomas to fire on and
molest the defenders.
At the same time, the other boat (which didn't have a name I was aware of - we'll call it the HMS Scow) snuck under our -admittedly ineffectual- defenses bringing (from back) Count dBooty, Silas Thatcher, Michael and Sam for a boarding attempt.
 (Photo: Shannon)
|
 (Mission)
|
 (Photo: Mission)
|
 (Photo: Kate)
|
 (Photo: Kate)
|
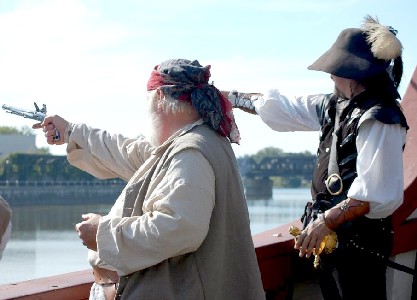
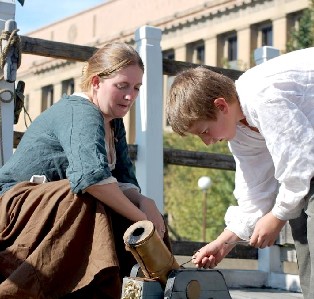
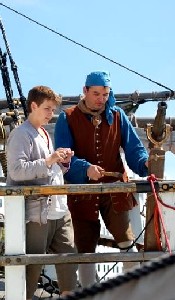
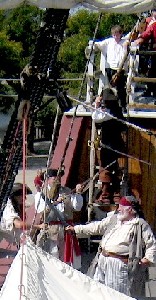
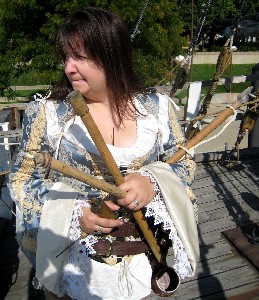
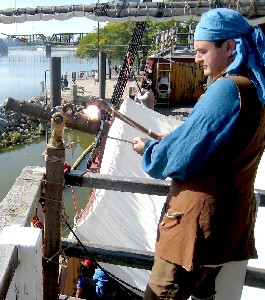
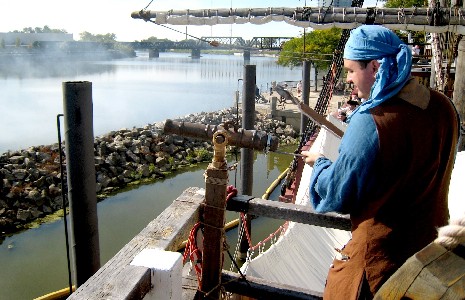
Of course, we did have our defenses, including several pirates with pistols and rifles. Above left: Callenish Gunner stays true to his name by gunning...callenishly. Uh. Shannon adds his firepower to the fracas. They also had a mortar (I think it's a mortar) on the aft deck, which Kate Bagley and Miles Thatcher attended to firing (above right).
I had the foresight to enlist Andrew as our staff gun photographer (below left), so there are lots of photos of Trish and I firing the deck gun. I mean lots. So many I am embarrassed by them all. Not too embarrassed to post a bunch of them, though. Below center: Trish (who arrived with Shannon just in time for the battle) once again assisted me as crew. Last time (in May) we took turns firing the little gun, but she didn't want to mess up her fancy sleeves with gun-powder (girls!), so I did all the first-person gun duties and she handed me the instruments. (Kind of like an assistant to the surgeon, see?)
 (Photo: Kate)
|
 (Mission)
|
 (Mission)
|
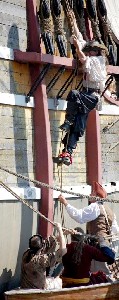
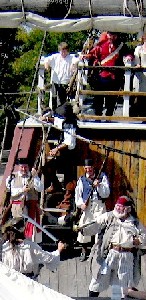
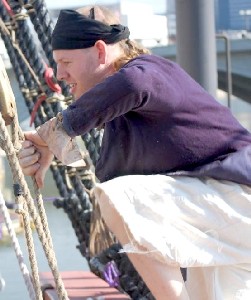
Despite all our best efforts to shoot unloaded cannons at them, the boarders got through our defenses and approached the ship (below left). Three men scrambled up the rope ladder conveniently placed there for them by Mark Gist earlier that morning. First up was Count D'Booty (below center left), followed by Silas Thatcher (below center) and Sam (not shown - I couldn't find a shot of him climbing in this battle.) A sword fight ensued between boarding pirate Count D'Booty and Callenish Swordsman (below center right and right) with Dan Needham and Thomas from Paynestown looking on, but not really helping much. Also watching from the upper part of the deck were Miles Thatcher (who, for the record, did not lift a finger to help his father) and Red John.
 (Photo: Bagleys)
|
 (Photo: Bagleys)
|
 (Photo: Bagleys)
|
 (Photo: Mission)
|
 (Photo: Mission)
|
(Photo: Kate)
(Photo: Kate)
The pirates eventually lost, due to the defender's superior sword-fighting
skills (that's what Callenish told me, anyhow) leaving Silas and Sam to
surrender to the backs of Thomas and Callenish (left.)
They did have the benefit of an appreciative, if totally useless pirate audience on the top rear deck: Bloody Marty Rackham & Red John Roberts (right).
 (Mission)
Seeing his charges fully routed, Michael Bagley scuttled off in the HMS
Scow by himself, proving that even amongst pirates, one is the lonelist
number that you'll ever be. Thus endeth the 2pm battle.
(Mission)
Seeing his charges fully routed, Michael Bagley scuttled off in the HMS
Scow by himself, proving that even amongst pirates, one is the lonelist
number that you'll ever be. Thus endeth the 2pm battle.
(Mission)
The 4pm battle had a lot of similarities to the 2pm battle as far as far
as defense goes. Apparently the other photographers thought so as well
because there weren't as many pictures of it.
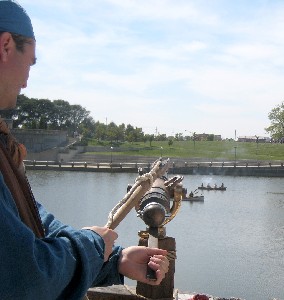
Andrew once again served as our gun crew's personal photographer and he made a point of getting several shots of the cannon firing that came out quite nicely. If I am ever commissioned to serve as a General in the Army, I will make sure that Andrew is appointed as my personal aide and staff photographer. (So he is safe from the service on that front.) Trish again served as my assistant, trying to juggle the worm, swab, rammer, prick and slow match. (I won't comment on her placement of the prick, noncommittally and sagely leaving that joke for you, dear reader, to make yourself.)
Trish opted for the assistant role, once again pleading fancy sleeves. She chose wisely this time because the gun was exceptionally loud and hot, kicking sparks all over the place, one of which burned a hole in my shirt sleeve. (Such a great battle story I have for this shirt. How many surgeons can claim that?)
 (Photo: Surgeon's Rule!)
|
 (Photo: Courtesy
of On the Spot Andrew)
(Photo: Courtesy
of On the Spot Andrew)
|
 (Mission)
|
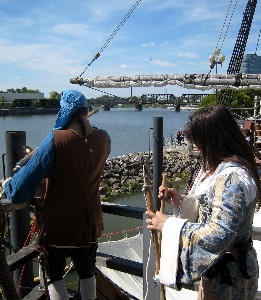
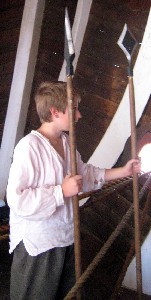
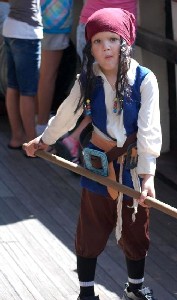
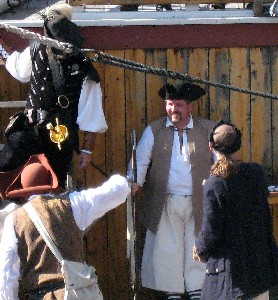
Still, despite my best efforts the marauders kept coming, getting so bold they attempted to fly using the oars (left). Sensing danger, the ever vigilant Miles leapt -Would you believe jumped? How about calmly walked and gingerly took? - the pikes (center right). He armed the tourists, including Jackie Sparrow (far right). (JS better not go in or that belt will take him straight to Davy Jones' locker.) |
 (Photo: Mission)
|
 (Mission)
|
 (Photo: Kate)
|
 (Mission)
|
Despite the best efforts of cannon fire and pint-sized pike men, the pirates managed to board the ship again! To add insult to injury, it was some of the same pirates who the defenders had caught the first time! (I guess they escaped between 2 and 4pm. You know how wily pirates are.) Kate actually snapped a photo of Sam boarding this time, which means we now have and Action! Climbing Sam photo. (Above left. Ok, I'll stop that now.) Sam and Count D'Booty decided that Callenish Swordsman was such a formidable opponent that they should pool their resources. Dan Needham stands at the ready with his really long gun. At the ready, but not at the willing. (Above right.)
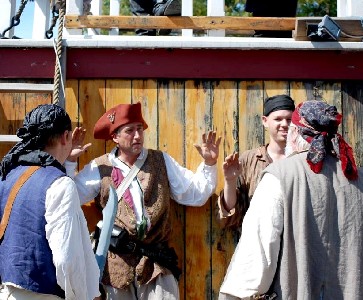
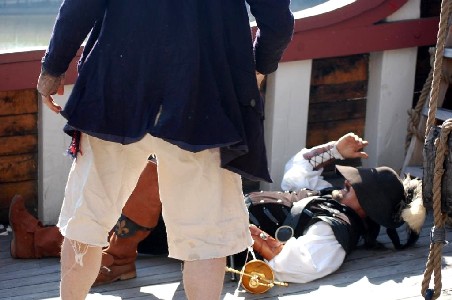
Defeating Callenish, pirates Silas Thatcher (below left in the red hat) and Sam took the ship, lining Ben up against the wall and putting Shannon on the ladder (No, I'm not sure why they did that) and giving them a stern talking to. Shannon then decided he had had enough of all this and took a nap on the deck (below right). Or maybe he was shot. It's difficult to say from this photo. Thus endeth the 4pm battle.
 (Mission)
|
 (Photo: Kate)
|