

Brain Gremlin Model Pages: 1 2 3 <<First
The Brain Gremlin Model, Page 3
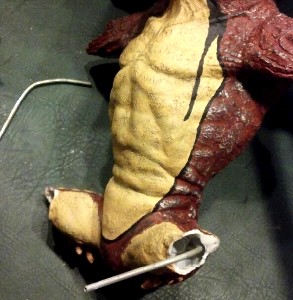
The Steel Rods Tom Used to Fix the Brain Gremlin's
Broken Legs
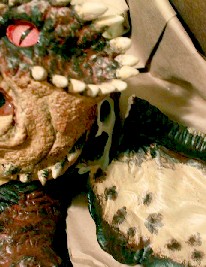
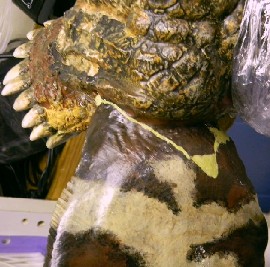
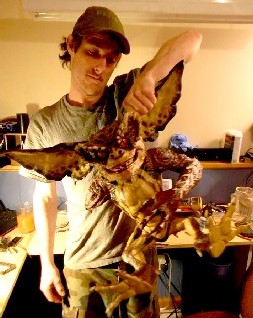
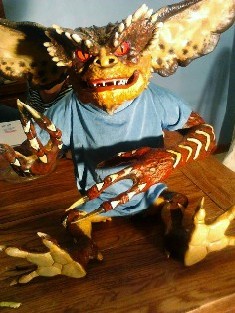
We gave the painted Gremlin model to my friend Michael, who makes reenacting clothes to outfit him with his jacket and turtleneck. Unfortunately, during his time at Michael's house, the model fell off his couch and we all learned just how delicate resin models were: both his legs broke. (This surprised me because I had always thought resin was more durable than that.) Michael tried to fix him using the glue Dan had used when converting Mohawk to the Brain, but it didn't hold. It was time to bring in an expert.
I had been friends with Tom Kiley since high school. He was into painting Dungeons and Dragons miniatures then and the detail he managed to impart to the figures always amazed me. (He assured me that it was all in knowing how to do it, but I can't even manage to get a decent paint job on a 1/6 scale car model, so I suspect it is a little more than just that.) The breaks were fairly clean, so Tom proposed putting steel rods into the legs and finger to give them the support needed. After inserting the steel rods, Tom filled the voids in the body with Great Stuff to keep the rods in place and used JB Weld to glue the legs and finger back in place.
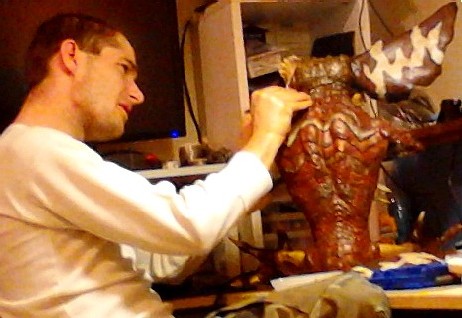
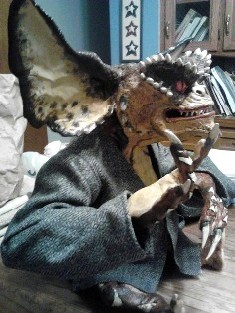
Tom also attached the arms for me. Dan had left the arms off to make putting clothes on the model easier, but I had another idea about how to do that with them attached as you will see.
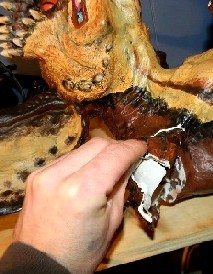
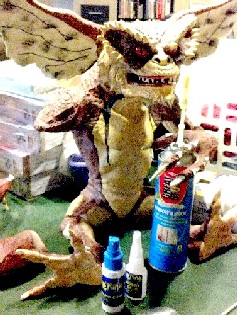 Spray Foam and Glues for Brain Gremlin |
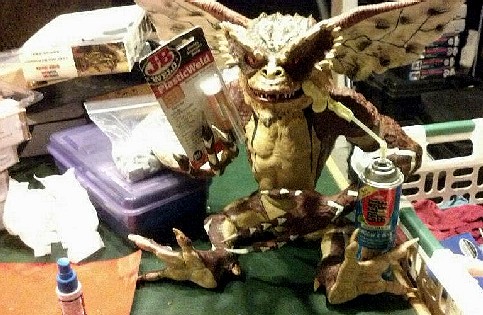 The Brain Gremlin Eating His Fixing Compounds |
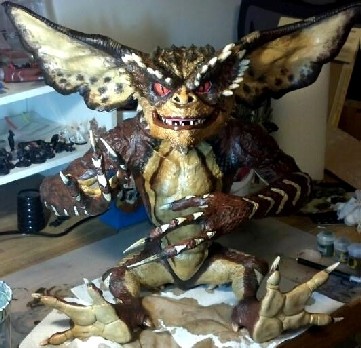
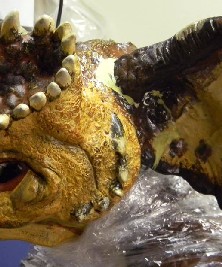
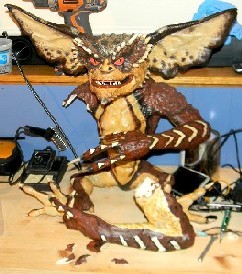
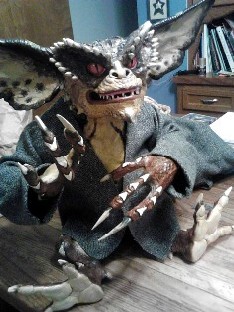
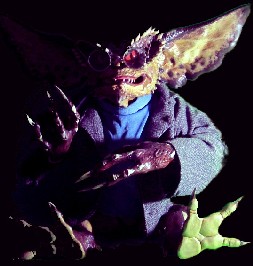
The Brain Gremlin Repaired and Painted by Tom Kiley
Of course the paint job had to be fixed after all this repair work.
Knowing Tom's skill at painting miniatures, I asked him if he could repaint the entire model so that it more closely matched the paint job from the movie rather than the action figure. I had not been very specific about the paint job when I gave the model to Dan, so he followed the paint scheme of the action figure, believing it to be accurate. (As much as I like the action figure, the paint job is highly simplified, probably to make it easier to mass produce.)
Painting something from a movie can be very tricky as I learned in making some of my haunted house movie projects. What appears on screen looks one way with one kind of lighting and another in a different kind of lighting. Trying to reconcile two different images can be tricky. Tom was an old pro at recreating movie tones, however.
The repainted gremlin had a darker feel, but one more in line with what is seen on the screen.
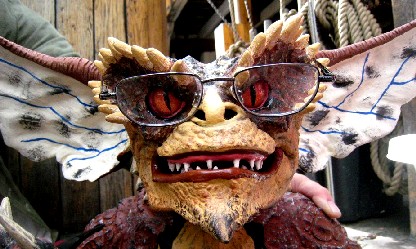
Before continuing, I should mention the glasses. These were crucially important to the tone of the model and I took finding the right kind of glasses seriously. (Well, as seriously as you can take buying glasses for a life-sized model of a little monster.) I skulked around eBay for over a month trying to find the right look, even purchasing a pair that I thought were correct only discover that they were no where near correct once they were on the model. (Showing again how things seen in the movie can be tricky to replicate in real life.)

The Glasses Before the Right Lens was Replaced
I considered another pair that looked right when compared to a scene from the movie (seen below right). A more careful review of the scenes suggested to me that they were more round than oblong, despite what you see in that photo.
I finally stumbled across a used pair that were perfectly round, silver-rimmed - and in India. So I bought them. When I received them, I found one lens was like a magnifying glass while the other had almost no correction. (Oh, to think of the poor guy who had such horrible vision in one eye.) So I took them to my eye doctor.
She measured the magnifying lens at about 9.5x and, at my request, wrote me a prescription for a pair of 9.5x lenses so that I could get the other lens replaced at a Lens Crafters. (You can NOT get a custom ground lens without a prescription, even if it is for a gremlin. Lens Crafters has no sense of humor or compassion for model-builders that I could detect.) Fortunately it all worked out in the end, thanks to my eye doctor.
 The Wrong Glasses - "So, about those TPS reports..." |
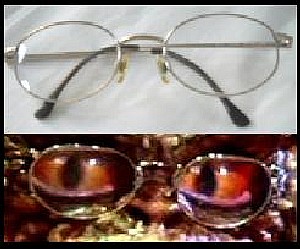 Comparing a Promotional Photo With the Movie |
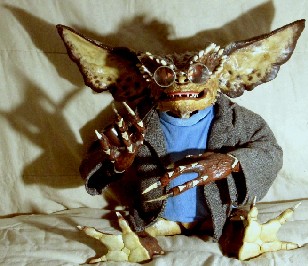
This brings us to the final step of creating the Brain Gremlin: the clothing. I had a very specific idea of what I wanted for the clothing. I don't mean the design - the movie was driving the design. I mean how it would be put on the model.
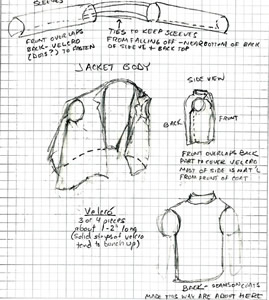
My Sketch of the Coat & Shirt Design
When I originally gave the model to my friend Michael the arms had not been attached so that he could sew the clothing around the model without having to figure out how to put the jacket and shirt on him. Keep in mind how ridiculously long those arms are and how absurdly large his hands are.
The idea of imprisoning him in cloth that way never sat easy with me because the model's body was so well painted. Once Tom had repainted the body so that it was like the movie (as briefly seen in the scene where the Brain Gremlin is talking with the Bat Gremlin), I really wanted to make the clothes removable so that I could show off the paint job.
So I sketched what I wanted as you see at left. Basically the two arm pieces would be tubes with ties in the back so that they could be held in place behind the model. The coat body would be split under the arms so it could fit over him like a sandwich board. Velcro would be used to keep the two halves together.
The real trick of the clothing wasn't in the design, however.
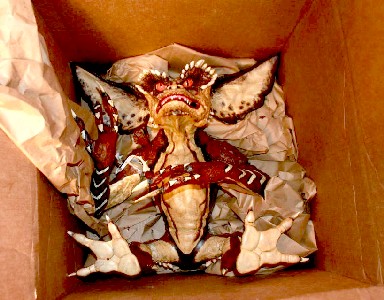
The Broken Brain Gremlin in His Box
It was in finding someone actually interested and able to make the thing. I approached several people on ETSY who made doll clothes, but they weren't interested. The one or two who had any interest asked me if I had a pattern and when they learned that I only had that sketch, they turned me down. (I had thought doll-making would be a creative venture, but this curious reliance on patterns made me think otherwise.)
I finally asked a friend of mine, Trudi Dufrense. She had made clothes for several bears dressed in pirate clothes that I have given to friends and has always proven to be very creative in her approach to working with cloth. Despite my sketch, she agreed to do it.
The next trick was to ship it to her. I knew the thing was delicate, so I packed him carefully. (Well, I thought I packed him carefully.) During shipment, he naturally broke again. This time it was his left ear and his right arm. Worse, the place where the arm broke was in pieces. As Trudi explained, UPS had not handled the box very gently. I had double boxed it, plastered "Fragile" stickers all over the thing and insured it, but to no avail. I didn't even bother to try and collect the cost of repairing it - I have learned that UPS has ways of wriggling out of almost anything. (The insurance was put on it to try and make them be more careful. I should have known better.)
So he was going to have to be repaired and repainted AGAIN. Trudi told me she had a friend Brian who was willing to do the work. I said I was willing to pay and the deal was sealed. Brian fixed Brain. He began with the ear, which was still partially attached. You can see the repair job on the ear in the images below.
 The Broken Brain Gremlin Ear |
 Brain Gremlin Ear Repair Side |
 Brain Gremlin Ear Repair, Top Back |
 Brian Working on repairing the Broken Brain Gremlin Ear |
 Brian Tests the Repaired Gremlin Ear |
Brian also reassembled the arm. I was most impressed that he was able to piece those shards of resin back together so seamlessly. He did excellent work. He said he could blend the paint in the repaired sections so it wouldn't be noticed.
 Broken Brain Gremlin Arm & Shards |
 Brian Re-assembles the Shards |
 Clamping Brain Gremlin's Repaired Arm |
With Brain Gremlin re-repaired, Trudi could now begin to make the clothes for him. She suggested a different way to construct them so they could be removed, although I like to think I at least inspired her. She began with the turtleneck, which can be seen in the image below left. (This was the first fitting. It was a bit loose, probably because the fastener in the back wasn't yet finished.) She asked me if it needed sleeves, which I didn't think it did, but she decided to give him short sleeves so that it would lay better under the coat. Then she began to construct the coat. You can see early fittings of it without the lapels below center and right.
 Brain Gremlin Turtleneck Fitting |
 Gremlin Right Side Coat Fitting |
 Gremlin Front Coat Fitting Gremlin Front Coat Fitting |
Once this was completed, Trudi decided to send me photos of the Brain with her children, which seems wrong on so many levels. So I am naturally going to share some of them with you here.
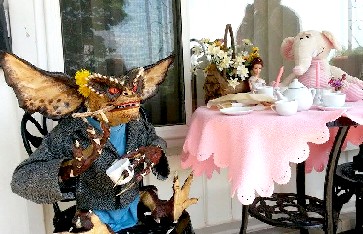 Brain Gremlin at Tea (Susie Derkins must be involved with this.) |
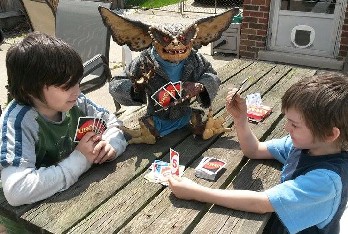 Brian Playing Uno With Zeke and Zach |
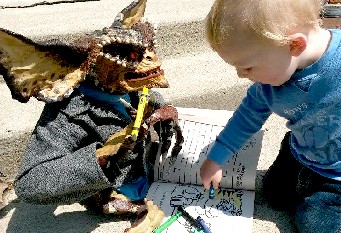 Brain Gremlin Coloring with Zander. (Or Just Eating Crayons) |
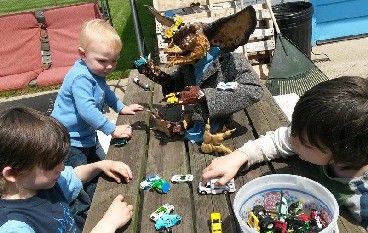 Brain Playing Matchbox Cars With the Boys |
After that it was just a matter of getting Brain back to me. Given how damage-prone he proves to be in his previous Travels, Trudi insisted on carefully packing him in her car and delivering him to me in person. She said she was planning to visit a relative who lived near me anyhow, and she would bring him then.
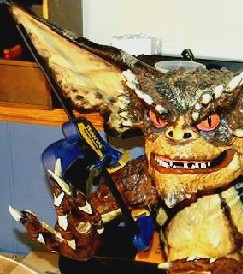
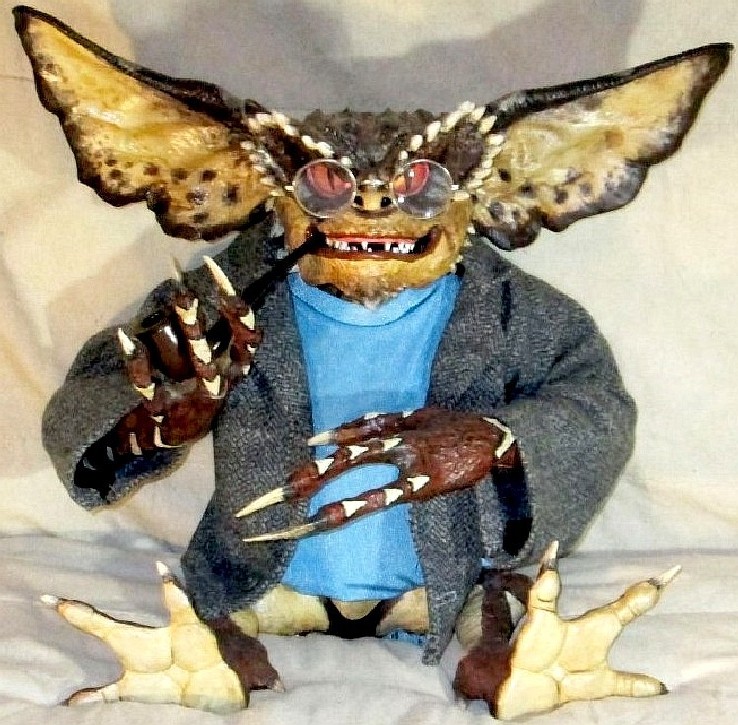
Once I had him, all he needed were the finishing touches - the glasses and the pipe - and this project was finally done. It only took 14 years to do! I have since started planning a bat gremlin model. Expect to see that one in, oh, about 2030.
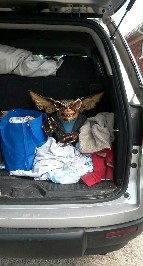 Don't Go in the Van... |
 Brain Gremlin Half Lit and Spooky |
 Brain Gremlin Gremlin Shadow Image Brain Gremlin Gremlin Shadow Image |
 "Fred, What we want is what is what you and your viewers have: civiliazation!" |